
None of the ideas below are revolutionary ideas to solve the food-waste crisis. But they are small, simple tips for reusing your personal waste that you can easily incorporate into your daily life.
Plus, you’ll get something fun or useful for next to nothing.
I love it when I can save something from the brink of the black (or even compost) bin, and I feel like the more time I spend looking at products and thinking about how I can get a second use out of them, the more I feel like a more mindful consumer in general.
Scroll to:
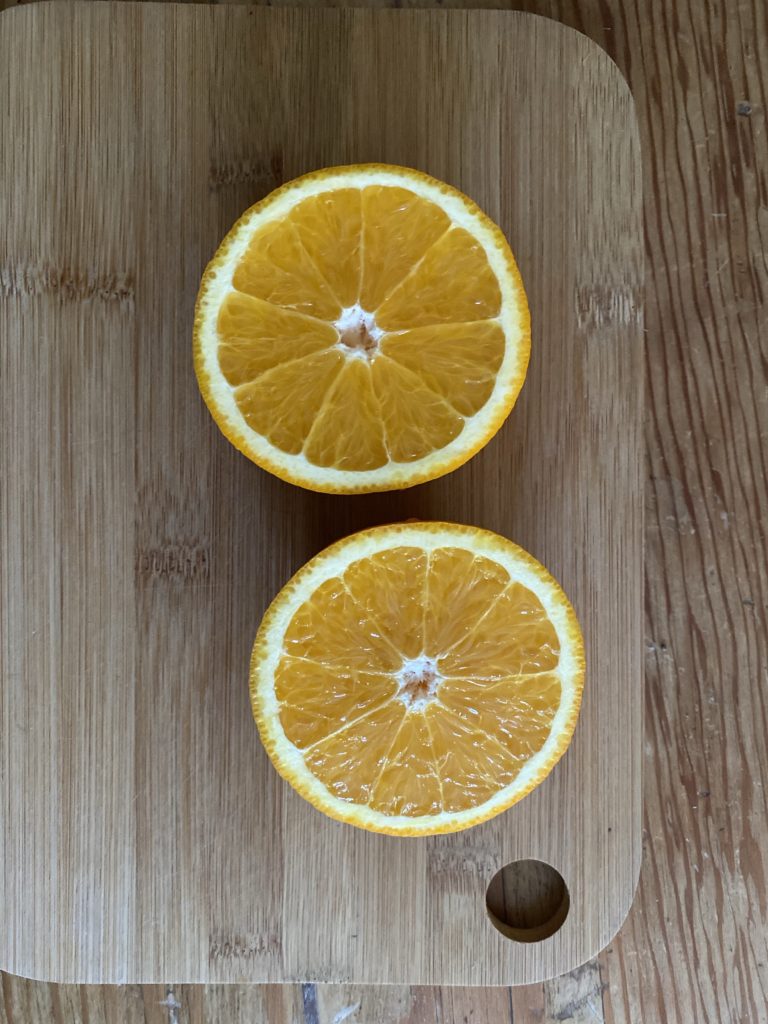
Citrus peel | Bird feeder
Extra ingredients and tools needed
Amounts will vary depending on the size of your fruit. Using two halves of orange peel:
-
1m string/twine, cut in half
-
Poking device for making small holes, e.g. a skewer, biro, knitting needle.
-
1/2 cup (8 tbsp) birdseed. If you’re not sure what kind of seeds you should be getting, have a look at the RSPB’s list here.
-
8 tbsp coconut oil or suet

Method
To start, you just need have to have a good-sized, unbroken half sphere of peel. You have no idea how many times I remembered that I was planning on making a bird feeder mid-way through peeling my orange.
Any citrus fruit would work, but I tend to use grapefruit or large oranges for a more substantial feeder. You don’t necessarily have to eat the fruit first – if you’ve got citrus fruit that’s past its best and you won’t be eating, this could be a way to make good use of it. I’d recommend trying to get some juice out of the fruit for yourself first anyway though!
Preparing the peel
- Remove (scoop out, eat, juice) the inside of the fruit.
- Use your poking device to punch four regularly spaced holes into the peel. Don’t go too close to the top with these, as they may rip later on.
- Push the end of a piece of string into one of the holes, then tie it in place on the inside of the fruit, so it won’t fall out. Then, push the other end of the string through the opposite hole and secure it in the same way.
- Repeat with the other piece of string in the other two holes. You’ll end up with criss-crossed loops to hang the feeder from.
Adding the filling
- Melt the coconut oil. Either place it in a bowl in the microwave and stir it at 10-second intervals, or put a pan on a medium heat and stir regularly – it won’t take long either way.
- While the oil is still liquid, add in two tablespoons of birdseed per tablespoon of coconut oil. Stir so that the seeds are coated.
- Scoop the oil and seed mixture into the peel halves.
- It’ll cool pretty quickly, so you should be fine to hook it straight outside, somewhere accessible for the birds but out of direct sunlight, to prevent the oil melting.
Notes
As a side note, because the mixture will harden as it cools, you can also spoon the mixture into a mould instead (e.g. silicone soap moulds or cupcake moulds), and make your own (vegan) suet blocks.
Watch out for the peel going mouldy, and make sure you clear the feeder away at this stage. Birds might still eat mouldy seeds, but they won’t be good for them.
The feeder should last up to a couple of weeks, depending on the weather and condition of the peel.
Vegetable peelings | Stock
Extras ingredients and tools needed
- Seasoning, as desired
- Approx. 1l water (enough to cover your veggies)
- 1l container for your stock
Method
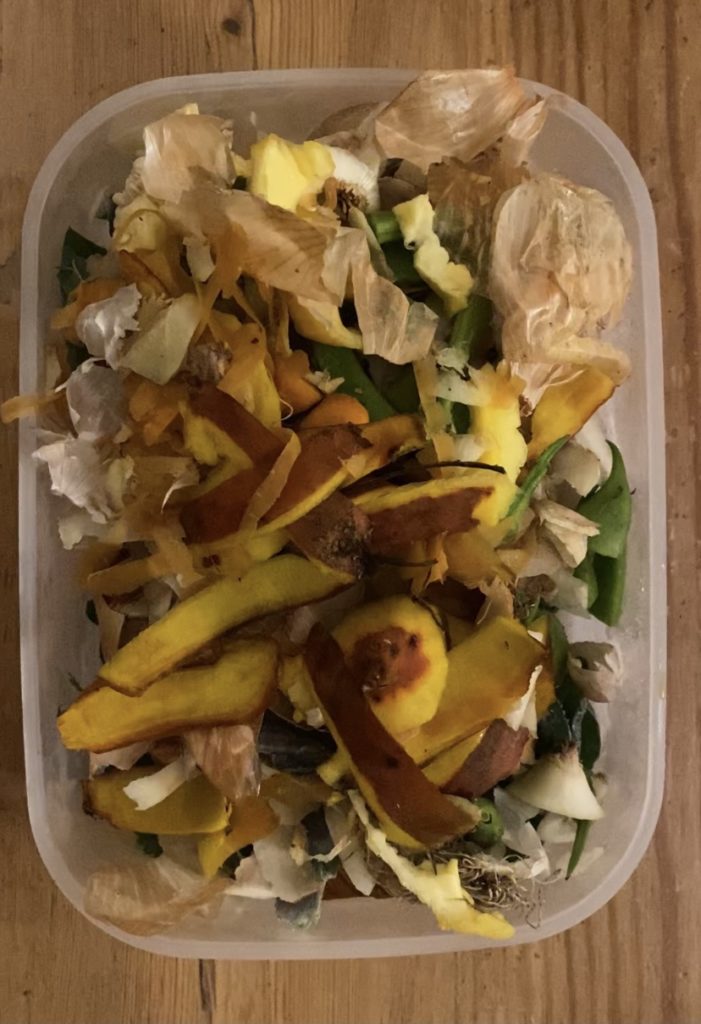
When you’re peeling and chopping your vegetables for a meal, rather than putting the peelings straight in the bin or compost, you can save them for a homemade vegan-friendly stock.
- Each time you peel veggies, put the waste into a container and freeze it. Keep adding more to the top of the box until its full. You could also freeze vegetables that are getting a bit old and you’re unlikely to use before they go bad.
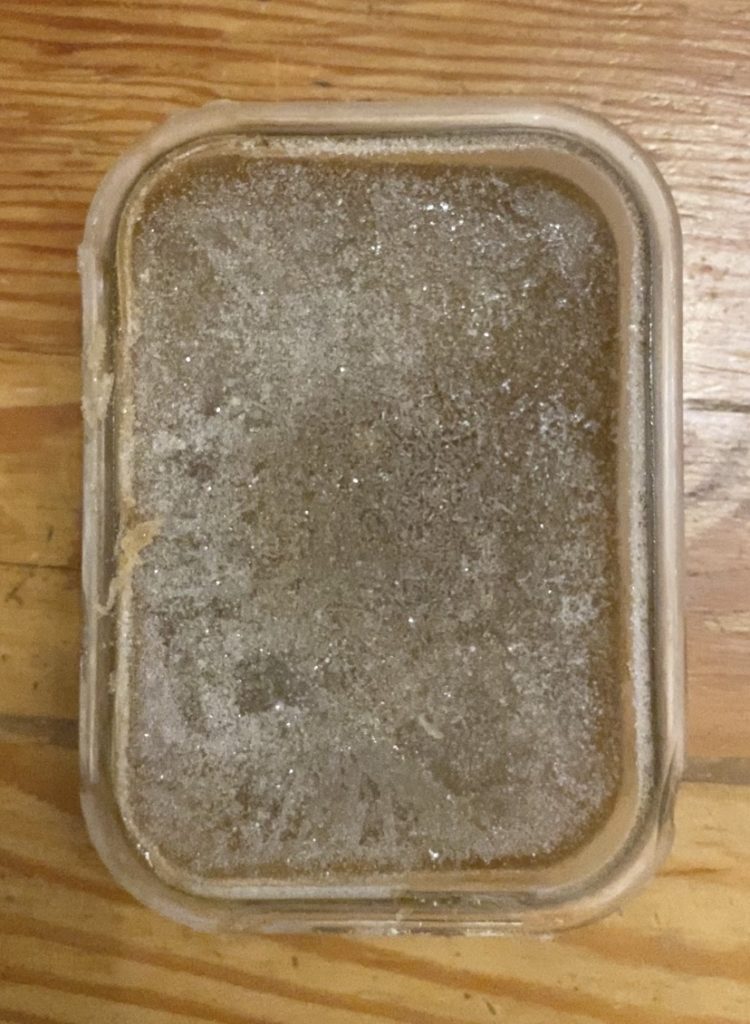
- Once it’s full, put the peelings straight from the freezer into a pan on a medium heat, and cover with boiling water.
- Add any seasoning you’d like (e.g. salt and pepper, bay leaves, a couple of garlic cloves).
- Leave the lid off and keep the pan on a low boil for 20 mins.
- Strain it, and you have your own veggie stock!
We like to freeze ours in meal-sized batches, and get a portion out whenever we need one, e.g. to make a soup, gravy or ramen.
Apple peels | Apple cider vinegar
Extra ingredients and tools needed
Using the peel and cores of approx. 10 apples to make approx a litre of vinegar:
- 1l water
- 4 heaped tbsp sugar
- 1l jar (e.g. a mason jar)
- A measuring jug
- A piece of muslin

Method
If you can’t get enough of vinegar (I feel you, I used to literally drink it), you’re going to want to hear how easy it is to make your own apple cider vinegar (ACV).
We made a bunch of this from windfall apples that we used for juice, cider and batch-cooked apple crumbles (fitstagrammer that I am). You don’t need a ton of apples though: it’s easy to scale up or down, and there’s so little hands-on effort involved that it’ll still be worth your time.
- Put your apple peelings, cores or older apples in a clean glass jar. It should be about ¾ full.
- In a separate jug, measure out enough water to cover the apples. Stir in 1 heaped tablespoon of sugar for every 250ml water (4 for a litre).
- Pour the sugary water over the apple peelings until they’re all covered. Weight the peelings down with something, for example, we used a shot glass. This is to keep the peelings covered in vinegar, to prevent them from rotting.
- Secure a piece of muslin to the top, using a rubber band or the metal seal of your mason jar, if you’re using one.
- Put the jar somewhere dark and at room temperature, such as inside a kitchen cupboard.
- Leave the jar for about three weeks, looking occasionally to check there’s no mould. Make sure you don’t mistake the Mother for mould!
- After the three weeks, remove the apple peelings and dispose of them. Put the jar of liquid back and leave it for around another three weeks, until it’s fermented to your liking. It’ll probably be hard to miss this – as soon as I opened my ACV cupboard that beautiful vinegary smell hit me.
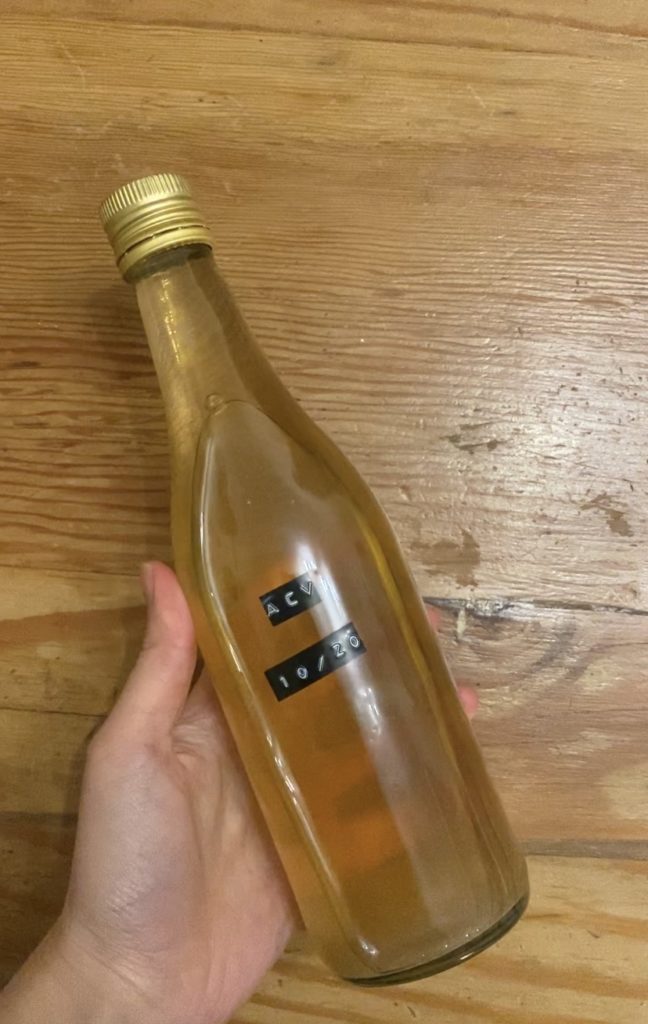
- Decant into a jar and seal it. We used an empty old vinegar bottle so we could be smug about reusing more waste. It’s now ready to use!
Uses and benefits of ACV
Benefits
ACV has a ton of reported benefits, including supporting digestion and your immune system, lowering blood sugar levels and boosting the condition of your hair, skin and nails. The downfall of it is often the cost, though: store-bought ACV can be pretty pricey. But, if you follow the method below, you get almost-free ACV.
If you notice a cloudy substance or jelly-like substance in your vinegar, it’s time to celebrate. That’s likely to be Mother not mould, and that’s what is reported to give ACV all of its beneficial properties.
Uses
Apparently you can also use ACV to preserve/pickle food, but according to the Guardian, you’ll need to make sure the pH is between 4 and 5 in order to do so, and I wouldn’t recommend taking the risk unless you can be sure it’s safe.
Instead, I’d recommend
- using it as a salad dressing
- drizzling it on your chips
- drinking it (my dream)
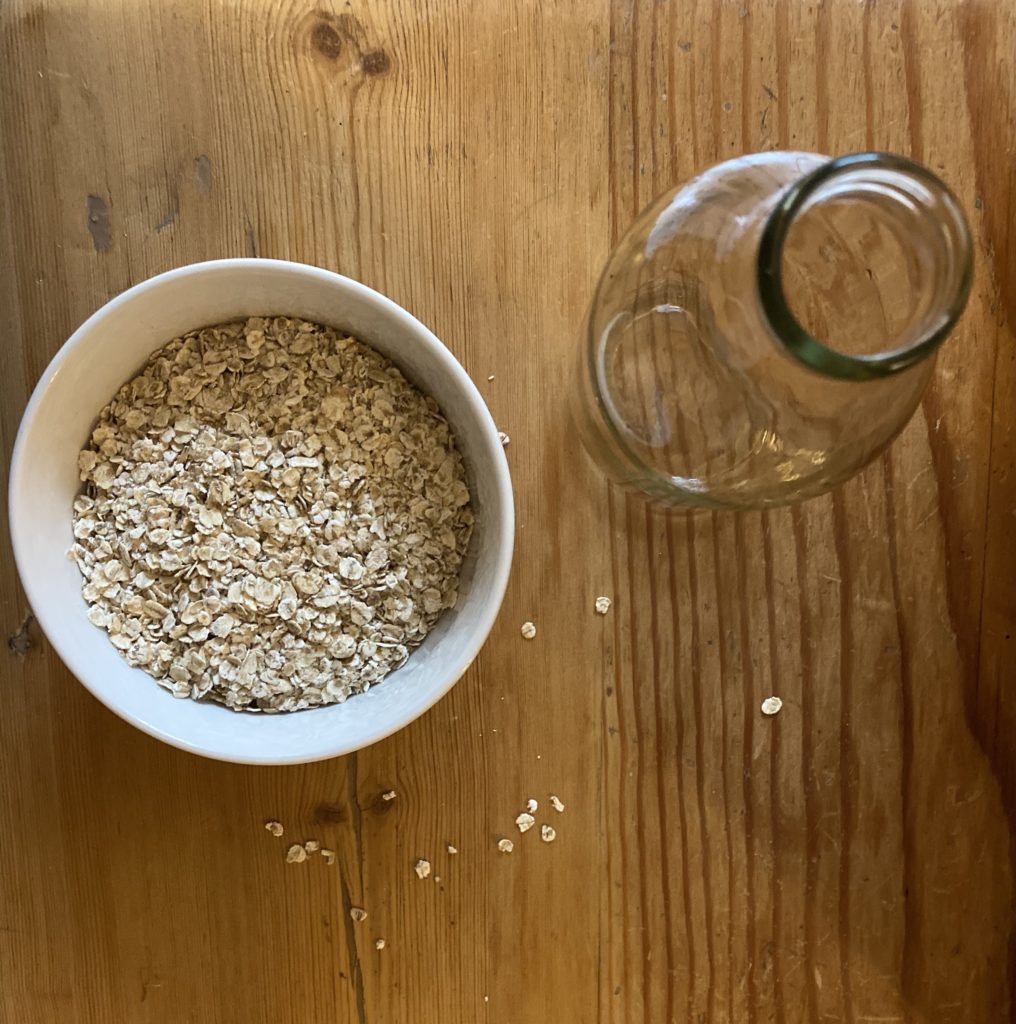
Leftover oats | Face mask

Extra ingredients and tools needed
Per 200g face mask/80g of leftover oats
- ~100g yoghurt
- 200g jar
Method
Do you feel sad throwing away churned-up oats you used to make oat milk?
Moment of silence for all the cookies, overnight oats and bowls of porridge that could’ve been?
Not necessary, I have the perfect way to give those oats a second life: they make a beautiful face mask, and if you’ve just followed my oat milk recipe, you’ve churned them up into the perfect consistency.
- Take your churned-up oats and stir in a few spoonfuls of yoghurt until you reach your desired consistency.
- That’s it! Put it all over your face, then relax and let it work its magic for around 10 mins before washing it off.
This should store fine in the fridge for a couple of days if you don’t want to use it all straight away, with the added bonus of the oat mask being even more cooling.
More about the ingredients
Oats are great for your skin, including if you suffer with eczema, acne or psoriasis. They have gentle soothing, balancing and moisturising properties.
The other addition, yoghurt, is also really gentle and moisturising. It also has anti-ageing and beneficial properties for eczema and acne sufferers, so this one is perfect for my fellow sensitive-skin sufferers.
If you’ve got a pot you know you won’t use before it goes bad, this is another win-win in terms of reusing waste.
Any yoghurt will do, although the consistency will change depending on your choice. I like to eat thick Greek yoghurt (shouts out to FAGE), so that’s what I use here too, and I think it works really well.
You could easily even make this vegan by using plant-based yoghurt.